

Step-by-Step Guide to Fixing Paint by Numbers Mistakes
Paint by numbers looks deceptively simple, but even careful painters hit snags - drips, smudged edges, the wrong color bleeding into the wrong section. If you've ever stared at a spot where everything went sideways and felt completely stuck, you're in good company. This step-by-step guide to fixing paint by numbers mistakes walks you through the errors beginners and intermediate painters encounter most often, shows you exactly how to correct each one, and hands you practical habits to keep those same mistakes from showing up again. You won't need expensive tools or a fine-art background for any of this. Most corrections call for nothing more than a small brush, a little water, and whatever paint came in your kit. So before you panic over a smear or an off-color section, know this: nearly every mistake on a paint by numbers canvas is reversible - provided you catch it early and bring a steady hand to the job.
Common Paint by Numbers Mistakes and How to Spot Them
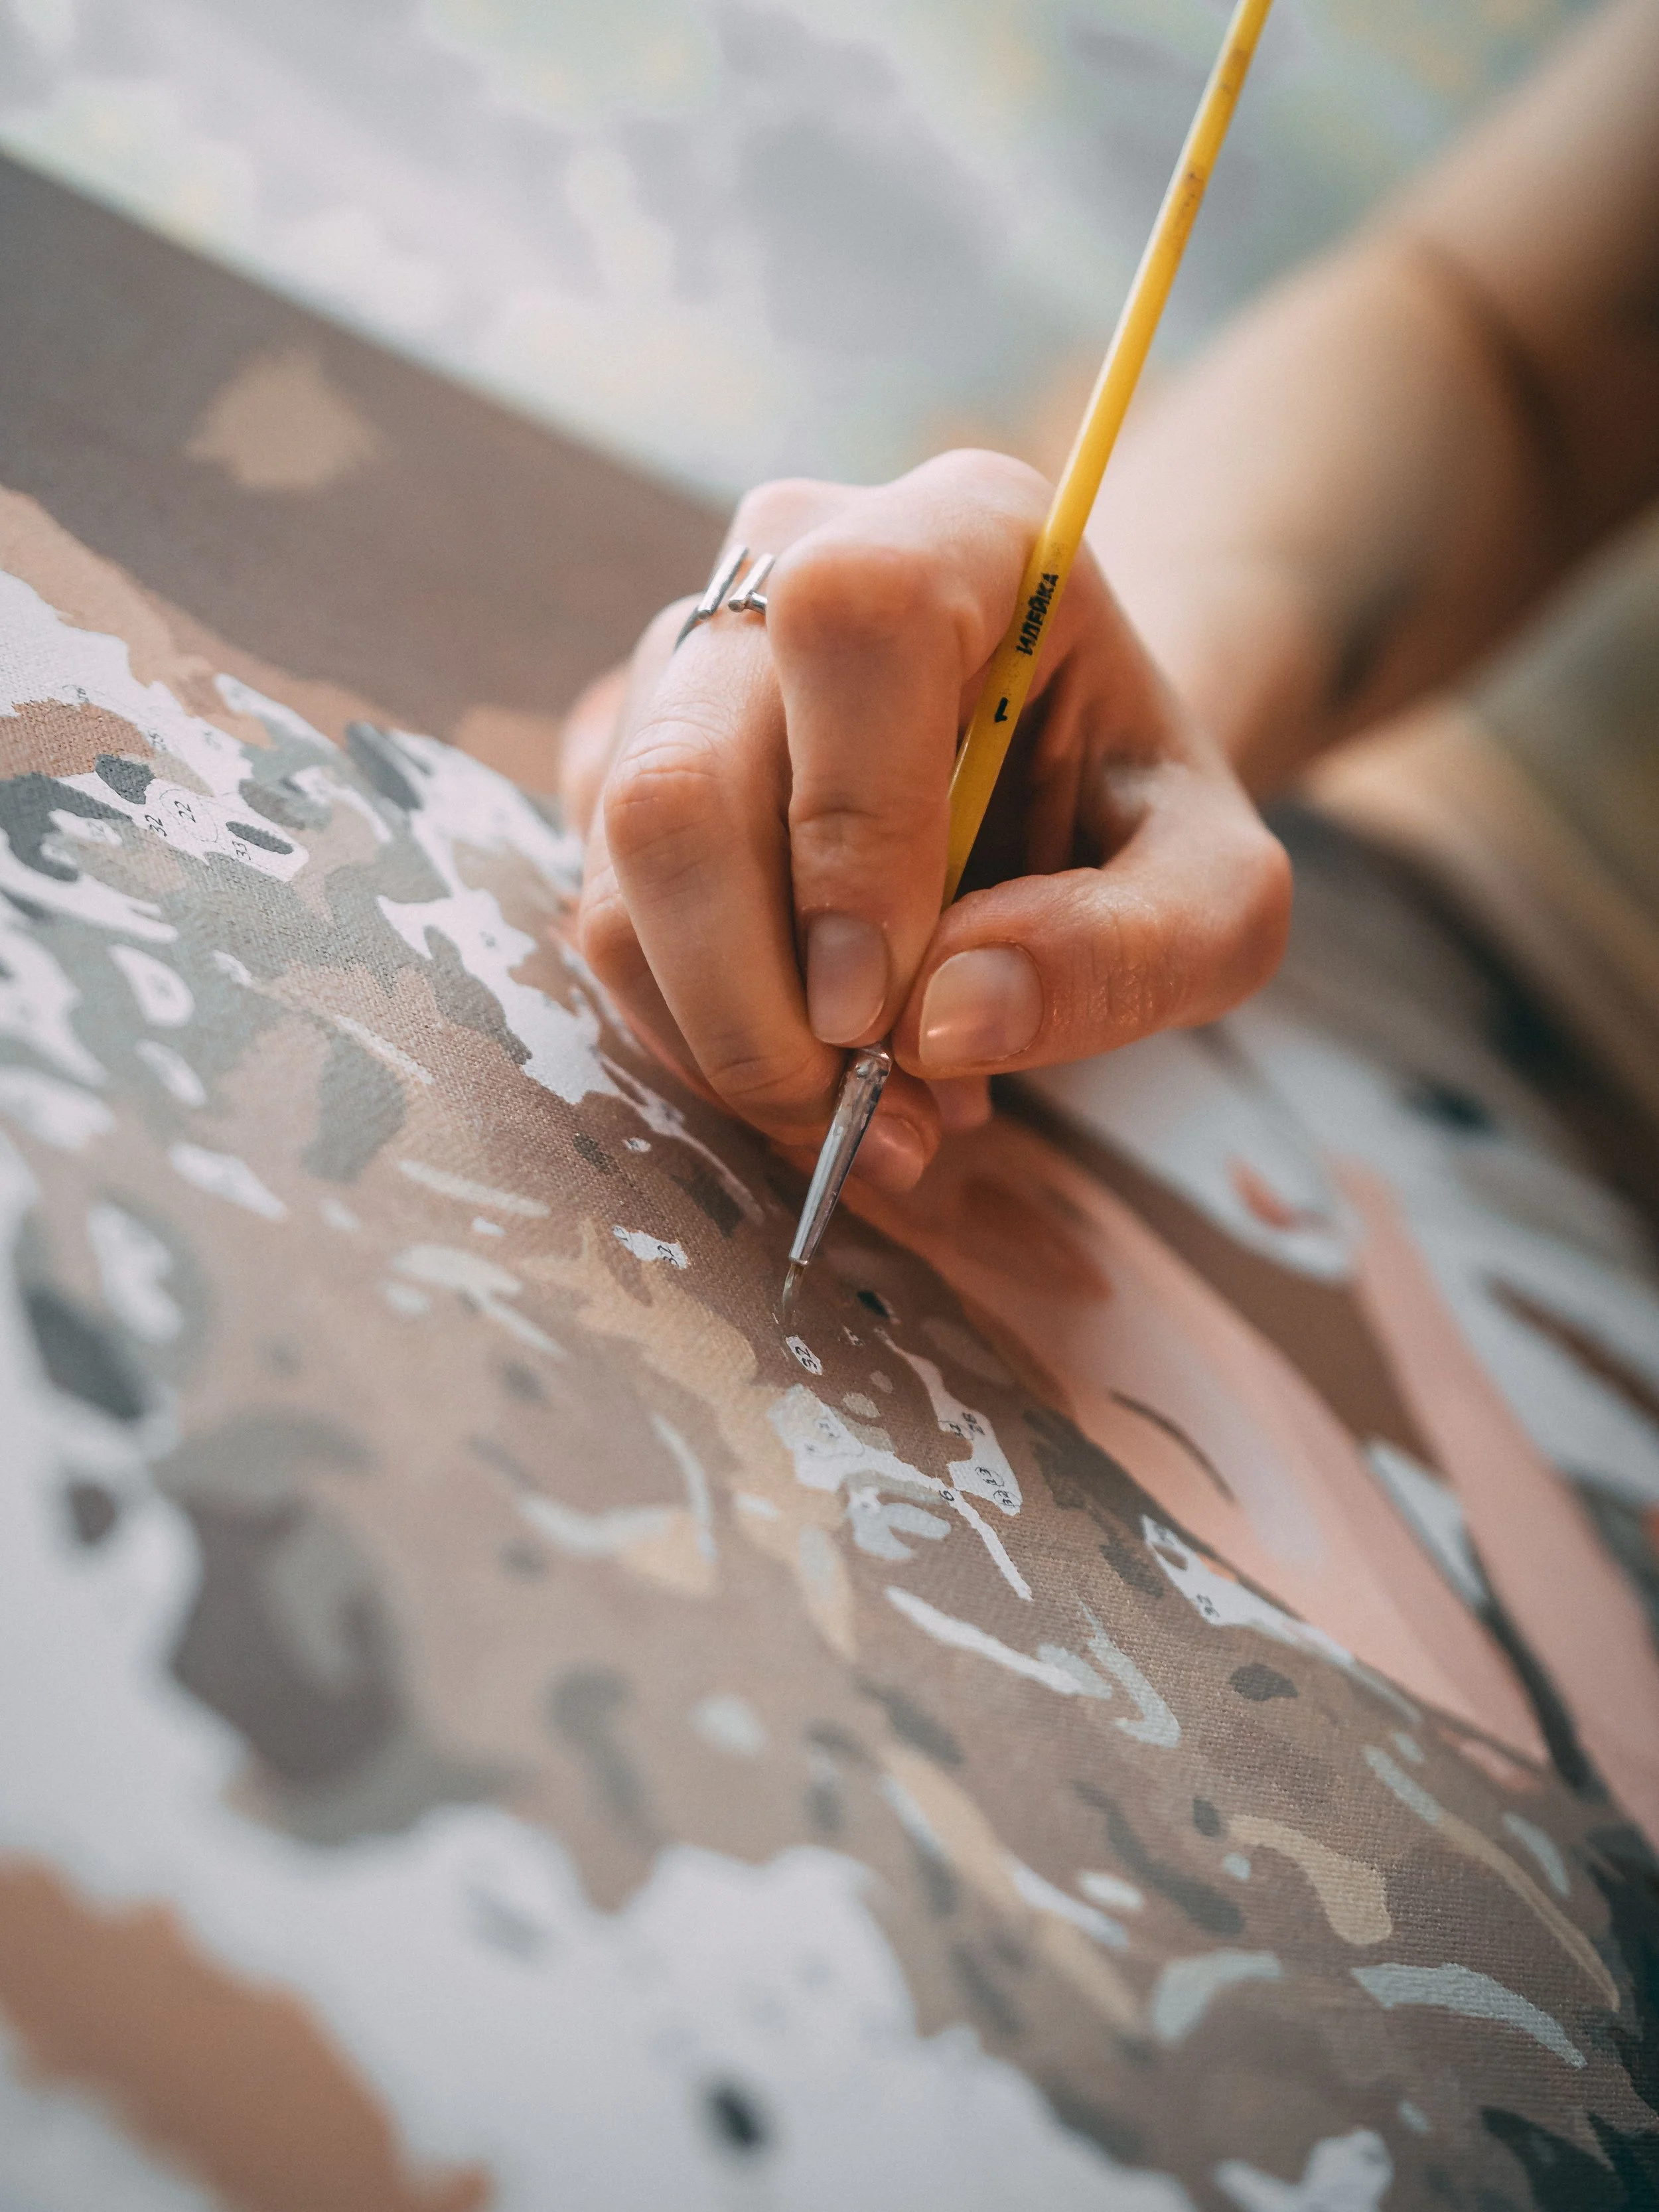
Catching a mistake early is genuinely half the battle. The unique paint by numbers designs available today come printed with numbered sections to guide your color placement, but even with that structure working in your favor, certain errors keep showing up across all skill levels. The single most useful habit you can build is stepping back from your canvas every ten to fifteen minutes and looking at it from arm's length. Up close, a small color bleed can look catastrophic. From a distance, you can judge clearly whether it'll disappear into the broader composition or whether it actually needs attention. Not every imperfection deserves a correction pass; over-brushing a section to chase a minor edge flaw can leave a more visible problem than the original mistake did. Train your eye to separate real errors from natural texture variation, and you'll spend far less time on repairs.
Paint Outside the Lines and Uneven Color Coverage
Painting outside a numbered section is the most frequent complaint from beginners, and it's almost always a brush-control issue. When your brush carries too much paint, the excess spreads past the printed boundary the instant it touches canvas. The fix is straightforward - load less paint than you think you need, and work from the center of each section outward toward the edges. For small sections, roughly fingernail-sized, switch to a fine-tip detail brush and use short, controlled strokes rather than broad sweeps. Uneven color coverage is a separate headache entirely. It shows up as streaky patches where the printed number still peeks through the paint. Let the first coat dry completely - usually twenty to thirty minutes at normal room temperature, then apply a second thin coat over the streaky area. Two thin coats will always produce a cleaner result than one heavy application.
Missed Numbers and Color Bleeding Between Sections
It's easy to skip a small numbered section, especially on a detailed canvas packed with dozens of sections in a tight area. Before you call anything finished, hold the canvas under a bright lamp and scan every printed number to confirm each one has paint on it. Missed sections become glaringly obvious once the canvas is complete and you're viewing it in good light. Color bleeding happens when wet paint lands next to a section you finished just moments earlier, and the two colors merge at the border. The solution is patience: let each adjacent section dry fully before filling in its neighbor. But if bleeding already happened and both sections are dry, don't scrub the border. Instead, load a fine-tip brush with the correct color and trace a clean edge right over the bleed line. Acrylic paint is opaque enough to cover most bleeds completely without leaving any sign of a repair.
Fixing Paint Spills and Blending Errors
Accidents move fast. A bumped jar, a slipping brush, a color that ends up in completely the wrong section - these moments feel like project-enders, but they rarely are. Acrylic paint, the standard in most paint by numbers kits, stays workable for several minutes after application. That's a short window, but it's a real one. Keep a small cup of clean water and a lint-free cloth within arm's reach during every painting session; speed matters far more than technique in the first few seconds after a spill. The longer wet paint sits, the deeper it soaks into the canvas fibers and the harder it becomes to lift cleanly. Dry spills aren't impossible to correct - they just take more steps and a slightly different approach than wet ones.
Removing Excess Paint and Cleaning Edges
For a fresh spill, blot immediately with a dry cloth or paper towel. Press gently - don't wipe - to lift the paint without spreading it further. Follow that up with a damp cloth to pick up remaining pigment, then let the area dry fully before you repaint. For dried excess paint along an edge, dampen a cotton swab with a small amount of water and press it against the dried blob; hold light pressure for ten to fifteen seconds to reactivate the acrylic slightly, then roll the swab in one direction to lift the softened paint away. Two or three passes may be needed. Once the excess is gone and everything's dry, touch up the cleaned section with a thin coat of the correct color. And here's the thing: avoid soaking the canvas with water during this process. Too much moisture can warp the surface or loosen the printed grid underneath.
Correcting Color Mistakes with Overpaint Techniques

A color applied to the wrong section is one of the most common errors covered in this step-by-step guide to fixing paint by numbers mistakes, and it's also one of the most manageable. Because acrylic paints are opaque, you can paint directly over a wrong color once it's dried. The trick is applying the correct color in two thin coats rather than one thick layer, a heavy overpaint coat sits unevenly on the dried base and creates a raised texture that catches light differently than the surrounding canvas. If the wrong color is very dark and the correct color is light, say white or pale yellow, you may need three to four thin coats before the underlying color stops bleeding through. Between each coat, wait for the paint to shift from shiny to matte; that's how you know it's ready for the next layer. Rushing the drying process is honestly the most common reason overpaint repairs end up looking patchy.
Preventing Future Mistakes in Your Next Project
The best repair is the one you never need to make. A few small adjustments before you start a new canvas can cut down on mistakes dramatically. Good lighting isn't optional; paint under a bright white light source so the printed numbers read clearly and the color differences between adjacent sections stay easy to distinguish. Work from the top of the canvas downward so your hand doesn't drag across sections you've already finished. Cap paint jars immediately after loading your brush to keep the paint from thickening, because thick acrylic is harder to control and far more likely to produce uneven coverage. Use a separate water cup for rinsing between colors, and change the water often; a brush rinsed in murky water carries residual pigment into the next section, shifting the final tone in ways that often aren't visible until the paint dries.
Choosing the Right Canvas and Paint Quality
Canvas quality and paint quality both directly affect how many mistakes you'll make - and how easy those mistakes are to fix. A canvas with a clear, high-contrast printed grid makes section boundaries far easier to read, which cuts down on painting outside the lines before it even starts. Lower-quality canvases sometimes print numbers too faintly to read under artificial light, leading to missed sections and guesswork. For paint, look for kits supplying fully opaque acrylic paints with consistent pigment concentration jar to jar. Watery or under-pigmented paints demand too many coats to reach solid coverage, and that extra brushwork raises the chance of color bleeding into neighboring sections. If a color in your kit seems too thin straight from the jar, don't add water - mix it gently and let it sit for a minute. Most acrylic paints in decent-quality kits need nothing beyond a stir to reach workable consistency.
Conclusion
Almost every mistake on a paint by numbers canvas has a clear fix, and most of them take less time than you'd expect once you know what you're doing. Blot wet spills fast, use thin coats for overpaint corrections, and let each layer dry before adding the next. This step-by-step guide to fixing paint by numbers mistakes covers the errors that trip painters up most often, but the real takeaway is simpler: acrylic paint is forgiving. Treat each mistake as a problem to solve rather than a reason to stop, and your finished canvas will reflect that mindset. Good habits before you ever pick up a brush - bright lighting, clean water, controlled loading - prevent most of these issues from arising in the first place. Keep these techniques close for your next session, and you'll spend more time actually painting and a lot less time second-guessing every stroke.